It was only 2 weeks after Olympus announced that they are going to sell their camera business, I finally had the reason to switch to Sony, an idea I was contemplating about for quite a while. Only some months before this announcement Olympus released the successor of the legendary OM-D E-M1 mk2, which I own and consider as the best mirrorless camera that has been around for some years. The successor had rather disappointing specs, there was hardly and hardware upgrades (e.g. still same sensor sensor) and mostly gimmicky software features and the capability of shooting high-res pictures free-hand. None of which I was interested about. I wanted to benefit from the most recent achievements in image sensor design, lower noise and maybe the capability of writing 14-bit RAW files (VS 12-bit currently).
Now, on top of that, hearing that Olympus’ camera business is going to shift down some gears or maybe even close down depending on the kind of investor they will find I knew that Olympus is going to be a dead-end for me. But to be honest, it’s really sad, because I was always fascinated about the tech only Olympus provided among all the other camera manufacturers, such as ” Live Bulb/ Time” or “Live Composite” and the ruggedness of their camera bodies, Sony is going to have a long way to catch up with that…
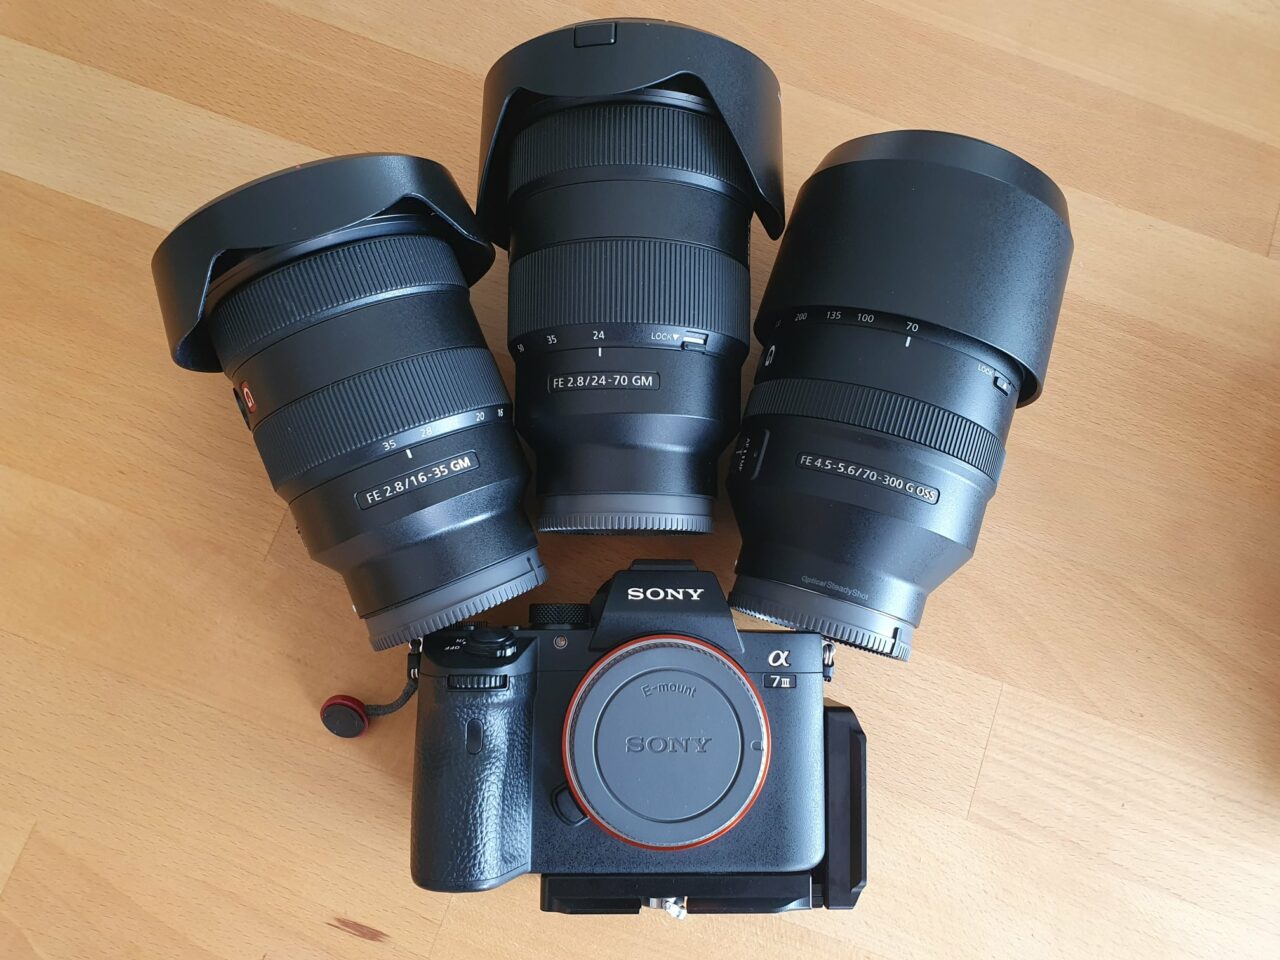
To make the story short: immediately after hearing about the news I looked for used Sony gear and got myself an Sony A7mk3 with the “holy trinity” lens setup (see photo):
Sony FE G-master 16-35mm f/2.8
Sony FE G-master 24-70mm f/2.8
Sony FE 70-300mm F4.5-5.6 G OSS
My new camera system
So far I’m still quite happy with the Sony system, although it was inevitable to gain some weight in my camera bag, but at least I finally have a sensor which is 4x the area and I’m going to have less pain in post-processing when I’ve to go down some rabbit holes to make the visible noise less noticeable in available light photos or photos which required stretching the histogram really hard. The configurability of the Sony camera is also quite nice. The only thing which still bothers me a lot is not having the option to see both the spirit level as well as the histogram at the same time in live-view. My girlfriend recently bought a cheap entry-level MFT Panasonic camera and this very setting is the default setting in this camera. Why can’t a professional line FF Sony camera have this?
In the meantime I’m glad that Nikon and Canon caught up with their mirrorless cameras too, which should create more competition and more competition is always worth to drive innovation 😉
Anmerkung für alle Fotos: es wurden nur RAW Bilder verwendet und ohne jegliche Entzerrung und Vignettierungskorrektur mit Standardeinstellungen entwickelt.
Vignettierung
Für die erste Bilderserie wurde der Filterhalter samt zweireihige Filter Befestigungsclips links und rechts aufs Objektiv gesteckt
normal @ 7mm
normal @ 8mm
normal @ 9mm
In der zweiten Serie wollte ich testen ob der Teil links und rechts im Bild von den Befestigungsclips oder vom Filterhalter selbst stammt, deshalb habe ich alle Befestigungsclips entfernt und den gleichen Test wiederholt:
ohne clips @ 7mm
ohne clips @ 8mm
ohne clips @ 9mm
Und siehe da, es ist nur eine dezente Vignette zu erkennen, welche sich sicherlich relativ leicht mit Software entfernen lässt, die Abschattung link und rechts im Bilde kommen wohl wirklich von den Befestigungsclips.
Dann habe ich nochmal einen Test gemacht und den einreihigen Befestigungsclip rechts eingesetzt um zu sehen wie groß der Effekt mit einem einreihigen, statt einem zweireihigen Bestigungsclip ist:
mit einem einreihigen clip @ 7mm
mit einem einreihigen clip @ 8mm
mit einem einreihigen clip @ 9mm
Im Vergleich zum zweireihigen Befestigungsclip sieht das schon besser aus, aber eine restliche Abschattung ist bei 7mm und selbst bei 8mm noch dezent erkennbar.
Mir ist ausserdem noch etwas aufgefallen, je nachdem welchen Fokus man eingestellt hat ist der Abschattung mal mehr oder weniger. Bei nahen Fokus ist die Abschattung größer als bei fernem Fokus:
fokus @ 0m
fokus @ 0.4m
fokus @ 1m
fokus @ unendlich
Leider ist es unmöglich diese Form von Abschattung mittels Software zu korrigieren oder gar ganz zu entfernen.
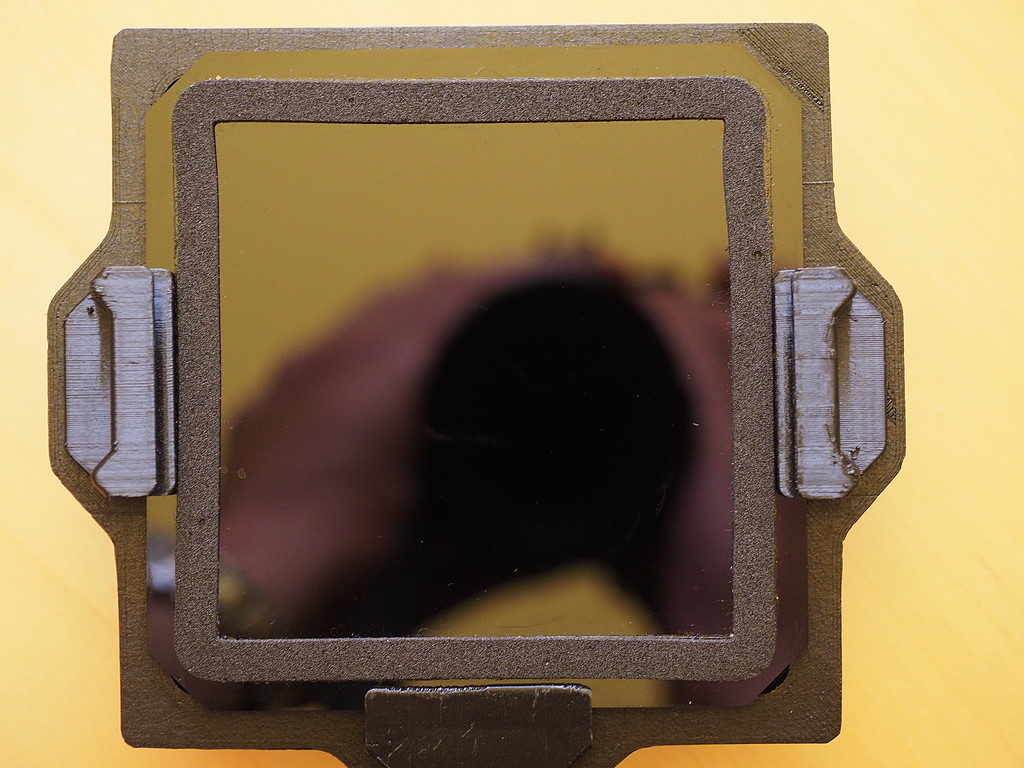
Filterhalter hat Verzug
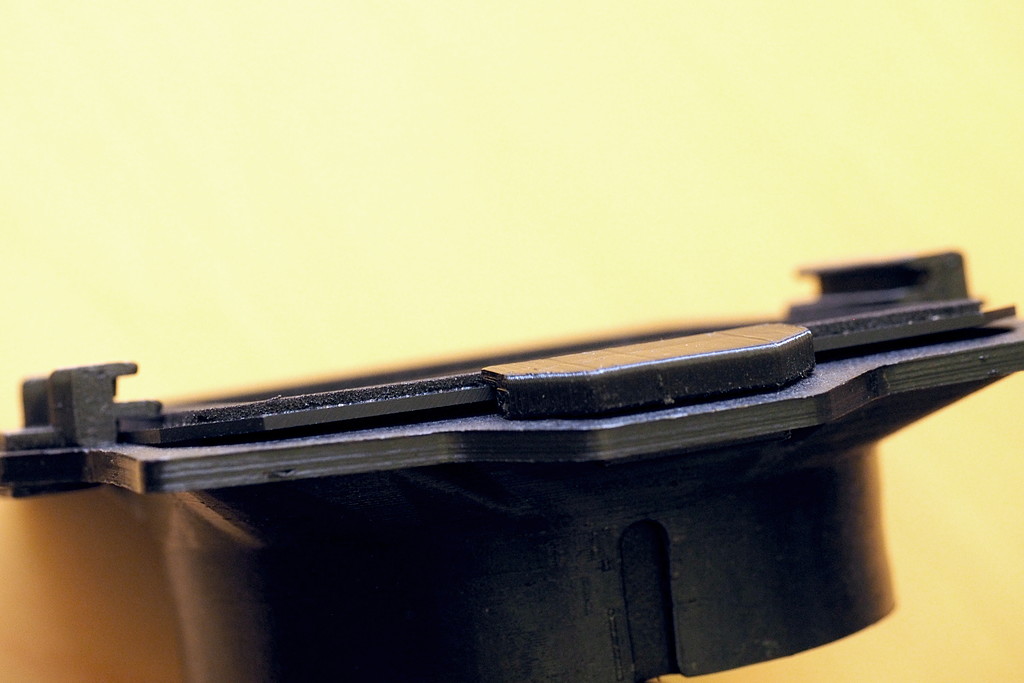
Mir ist ausserdem aufgefallen dass der Filterhalter einen enormen Verzug hat:
Verzogener Filterhalter 1
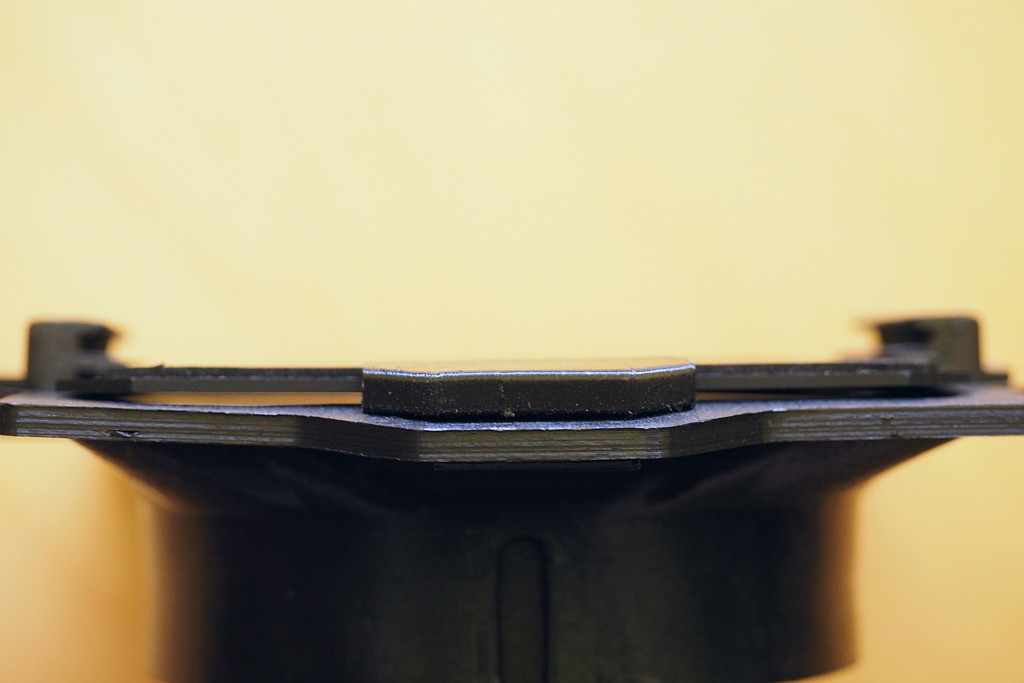
Verzogener Filterhalter 2
Öffnungen die Licht durchlassen
Ausserdem scheint der Filterhalter nicht mit Einschubfiltern kompatibel zu sein welche abgeflachte Ecken besitzen:
Fazit
Hier handelt es sich um einen unausgereiften und nicht gerade preiswerten Filterhalter aus dem 3D Drucker. Nach Kontaktaufnahme (Oktober 2015) mit dem Hersteller habe ich vergeblich auf eine Rückmeldung gewartet und bis heute keine bekommen, d.h. ich gehe davon aus dass Feedback nicht so gern gesehen wird. Service scheint man bei logodeckel.de wohl nicht zu kennen. Mein Filterhalter ist mittlerweile im Müll gelandet, da wo er schon beim Hersteller hätte landen sollen.
Alternative
Wer nach einer funktionierenden Lösung fürs Olympus 7-14mm f/2.8 sucht sollte sich die “Zu” Filter-Adapter von Zheng JIANG ansehen: https://www.7-14filter.com/714.htm?en
Dieser hat folgende Vorteile:
Besseres Design da man den Filterhalter seiner Wahl (HItech oder LEE) einfach an dem Adapter befestigt, anstatt ein komplett neues Halter-System zu kaufen, welches den etablierten Systemen technisch unterlegen ist.
Er ist günstiger obwohl das verwendet Material viel besser ist (feiner und gefühlt robuster)
Er funktioniert tatsächlich, Vignettierung ist durch die Nutzung der mitgelieferten Führungen fürs Hitech oder LEE System ausgeschlossen.
This was mainly meant for documentation purpose for myself, if anybody reads this and finds it helpful let me know, I’d be happy to hear about it 😉
My approach
On daytrips (e.g. hiking, visiting cities) I’m already using my trustworthy Lowepro 400AW, it’s big and sturdy enough for rough treatment. Recently there have been very exciting offerings by f-stop and MindShift (by Think Tank) which use a very similar concept of accessing your backpack from the back side while it is in front of yourself and not on the ground. I might look into those sometime later, however this blog post is dedicated to my approach for long distance trips or hikes with overnight stays.
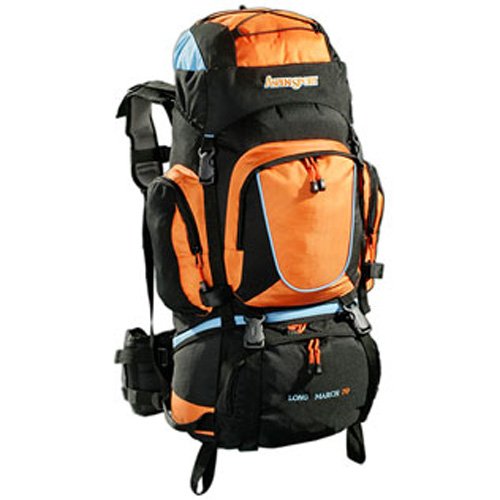
Aspensport trekking backpackOlympus E-System shoulder bag
I previously just combined what I had at my disposal, a cheap 70L trekking backpack by Aspensport and an Olympus E-System shoulder bag. I never even tried to fit my camera equipment directly into my trekking backpack, like putting it into a dedicated compartment with clothes for padding, I always liked the idea of having an ICU (internal camera unit) where I can arrange my camera gear properly, it’ll stay in place and it’s perfectly protected from outer impacts. So in this case I just used the shoulder bag as an ICU while keeping the shoulder strap attached, because I want to be able to just pull it out of the backpack and use the comfortable access to my equipment from the top while it hangs in front of me.
Recently both trekking backpack and camera shoulder bag became almost unusable because of some serious wear, I even stitched together seams which already disintegrated. Well, this was the motivation to look for new equipment for the job and hence this blog post, it was mainly meant for documentation purpose for myself 😉
Trekking backpacks
I considered the following requirements:
Around 70L of interior volume
Comfortable carry system which makes you carry most of the weight on the hips (my previous Aspensport trekking backpack was really bad at this!)
Many reasonably placed pockets to store different equipment, also wet pocket
Enough and well placed mounting possibilities for hiking poles, camping kitchen equipment, tent, tripod etc.
Hydration system (compatible to 3L hydration bladders)
Unfortunately I didn’t do much research on the trekking backpacks. I have known the fabulous f-stop mountain series (e.g. Sukha and Shinn) for quite a while now, but there is on thing which kept me from buying one: availability. Here in Germany a friend of mine had to wait almost 2 months to get one after ordering. Their ICU concept is very nice, however not flexible enough (yet) for me, I want an ICU which can be used as a proper shoulder bag too. This means I want to able to conveniently pull out and put back my camera while standing. I think by offering shoulder straps for their ICUs f-stop might be already on the way to offer something which would be perfect for me, I’m curious and will stay tuned with what they come up with in the future!
During my recent research the Deuter Aircontact Pro 70+15 was one of my first finds and immediately became my first choice, it ticked off all of those requirements, received good reviews and also I trust the good reputation of Deuter among alpinists and mountaineers as a very experienced company with high-quality equipment.
Shoulder bags
Now this was the main part of my research. There are so many shoulder bags on the market, it was really difficult to get a good overview in a short amount of time. For comparison:
Exterior Dimensions (L x W x H): 27.9 x 20.3 x 6.4 cm
Weight: 272g
Thoughts:
very nice and lightweight ICU like pack
comes with strap mounts and even a shoulder strap
also available in other sizes
but missing the comfortable access from top compared to usual shoulder bags, can only be accessed by the side while wearing it, I’m scared that equipment might fall out of the bag :/
bendable padding goes around lens compartments (left/right), camera can be put on top of lens compartments, has zipper access on both sides, this is all stuff I got used to with my previous Olympus E-system bag, I worked quite well in comparison to conventional shoulder bags
put my Olympus E-M1 crossways into the bag, with the lens facing downwards
bendable padding goes around lens compartments (left/right), camera can be put on top of lens compartments, has zipper access on both sides, this is all stuff I got used to with my previous Olympus E-system bag, it worked quite well in comparison to conventional shoulder bags
nice overall design but a little bit too big and too heavy for my needs
compartment for tablets, suitable for filters
put my Olympus E-M1 into the bag, with the lens facing downwards
I previously selected the Lowepro Adventura 170 bag as the go-to shoulder bag, but once it arrived I noticed that I highly underestimated the depth / height of the bag, which was ridiculous for my needs, hence I sent it back.
Now I ordered the AmazonBasics DSLR bag (medium) bag because it is very close to my old one in terms of size and at the same time it is very inexpensive compared to the ThinkTank shoulder bag, which I also liked.
I guess I’ll keep updating this post and maybe I’ll post a picture later of how I arrange my gear in those bags.
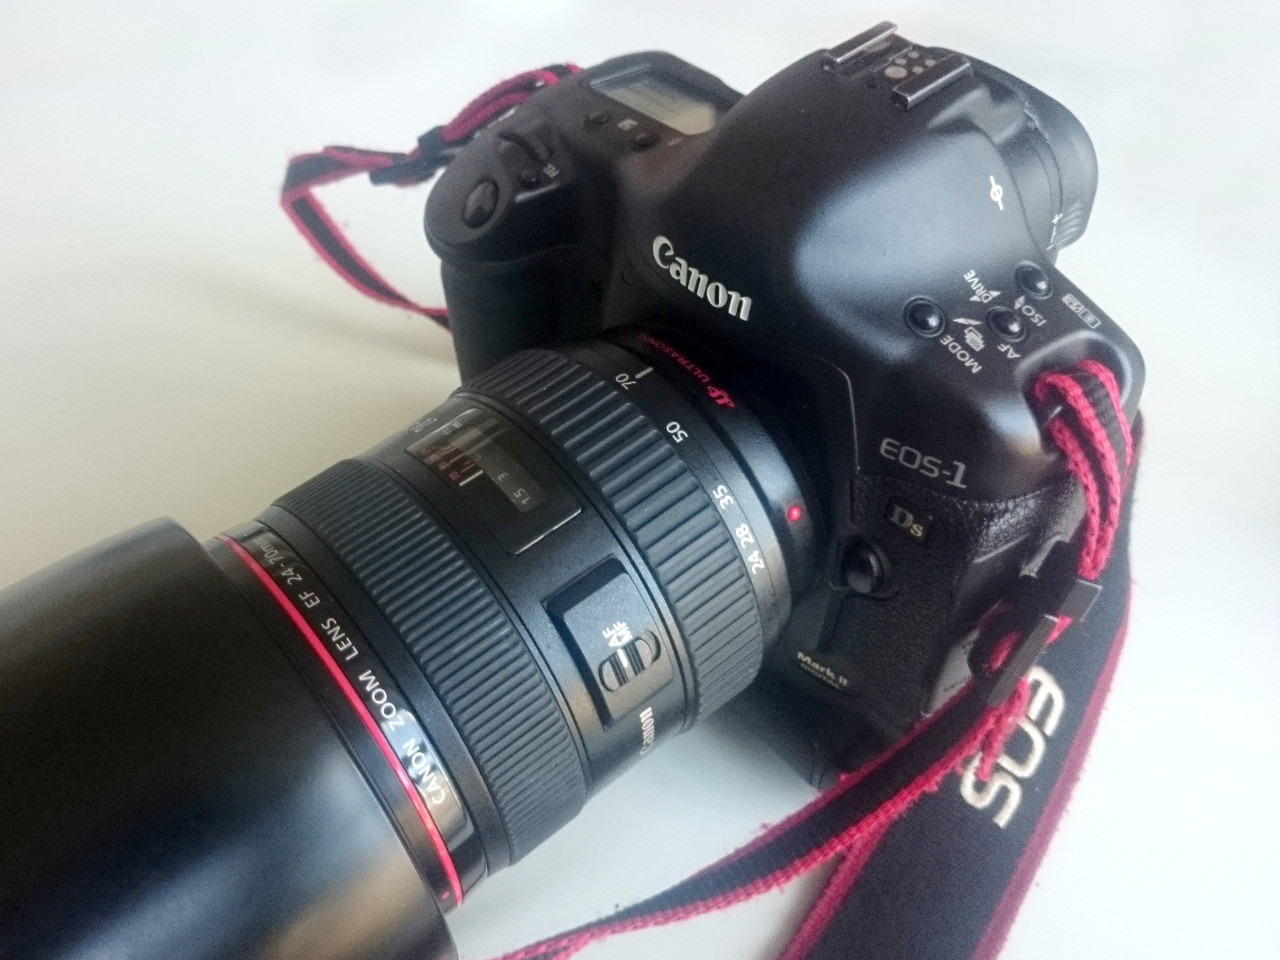
During the past 2 days at work I had the pleasure to work with this beast to take some “product photos” of the things I’m working on. Wow, compared to my Olympus mirror-less camera this is a huge and heavy beast weighing almost 2kg together with the kit zoom lens. I haven’t been using DSLRs for almost 2,5 years now, basically since I sold all of my previous DSLR kit. For sure this thing here is build like a tank and robust as hell, that’s probably also the reason why we still have this old camera from 2005, but it’s so damn heavy if you’re not used to it anymore! At least the past 2 days reminded me why I don’t miss this ancient and heavy technology 😉
I’m also pretty sure this is one of those cameras which cause this peculiar disease called “DSL-ARM”, recently discovered by Olympus! Enjoy the video(s) at this website (side note: dont’ take it too serious ;)) http://www.getolympus.com/dslarm
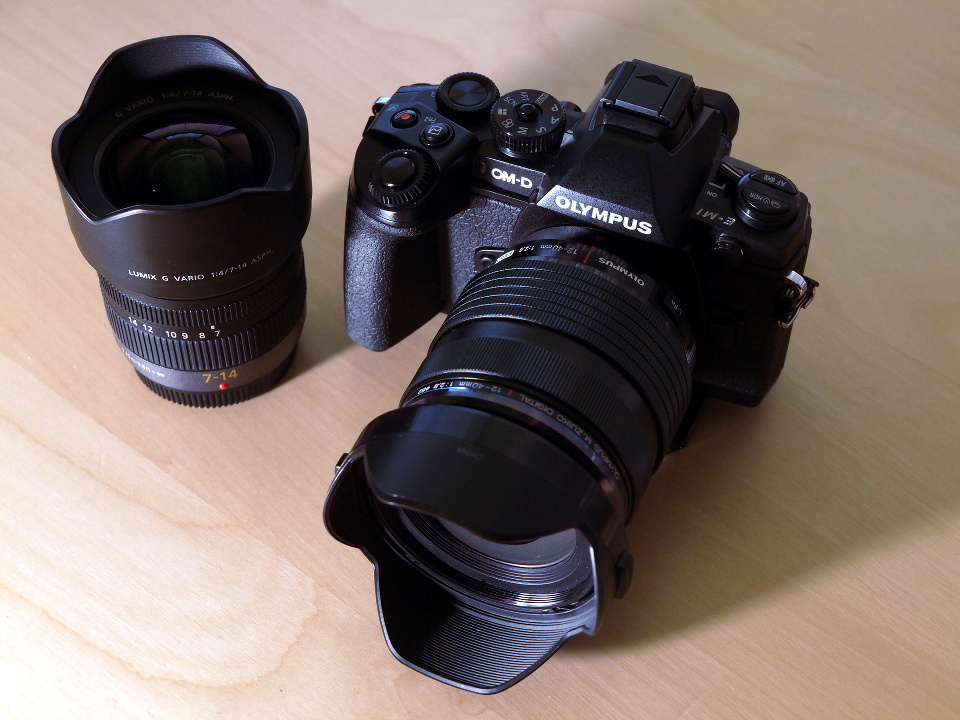
I finally made the decision to go mirrorless, now that this technology has been developing so fast and has arrived at a level where it can easily compete with classic DSLRs. It seems that this is the future technology, which pushes the limits even further. Because I was working with Olympus DSLRs, I decided to switch to their micro-fourthirds system, which keeps my costs of switching systems lower because I can still use my old lenses with an adapter and slowly exchange the heavy DSLR lenses by more compact and lightweight micro-fourthirds lenses (it’s really awesome how small and light these are!).
Here is the equipment I start with: Olympus OMD E-M1, 12-40mm f/2.8 kit lens, Panasonic 7-14mm f/4 wideangle zoom.
Olympus OMD E-M1 + 12-40 f/2.8 + 7-14 f/4
I’m thrilled because I can make use of my new camera equipment already during my next trip to the UAE (Dubai & Abu Dhabi) and Thailand starting next week. Feel free to recommend nice locations and activities for my Thailand stay